
Orchids that won’t wilt? Yes, please!
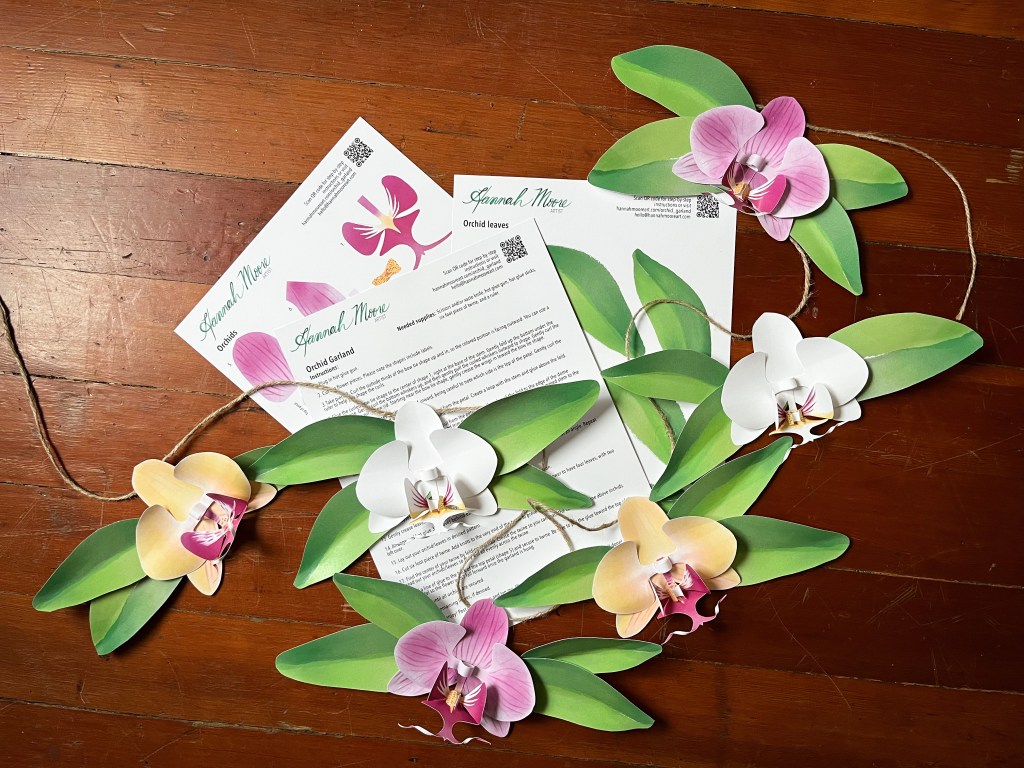
Start here!
To create your paper orchid garland, you’ll need:
-scissors and/or exacto knife
-hot glue gun and hot glue sticks
-six-foot piece of twine
-plastic ruler or paper creaser tool
Step 1:
-Plug in hot glue gun.
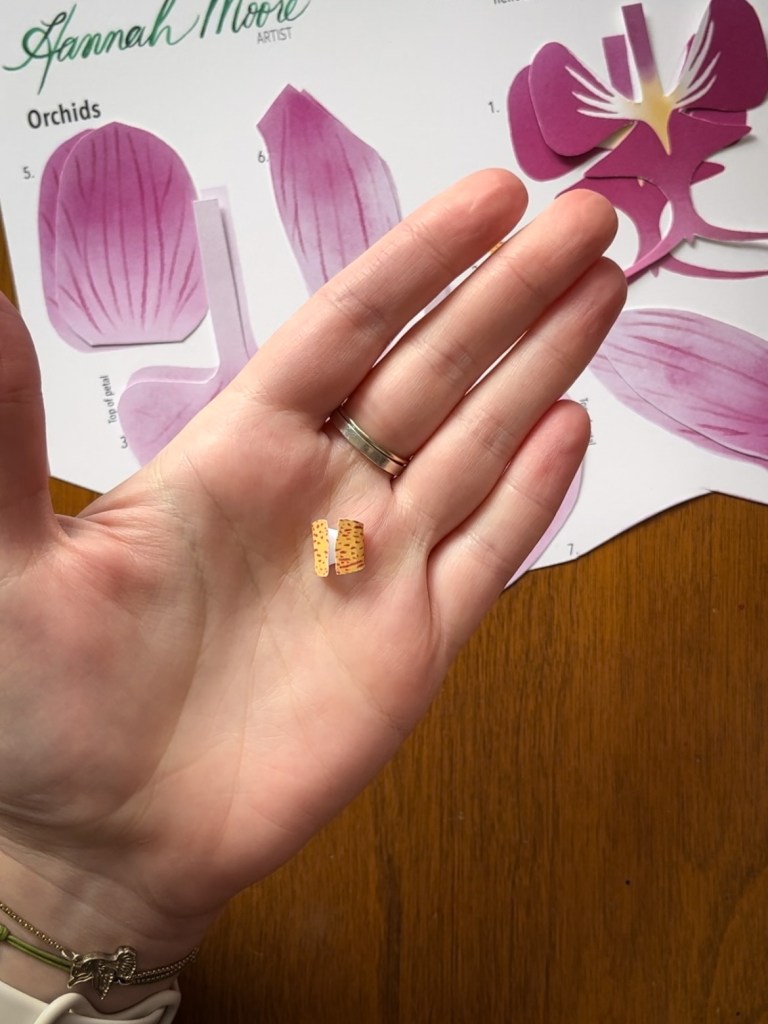
-Cut out all pieces.
-Start with piece #2

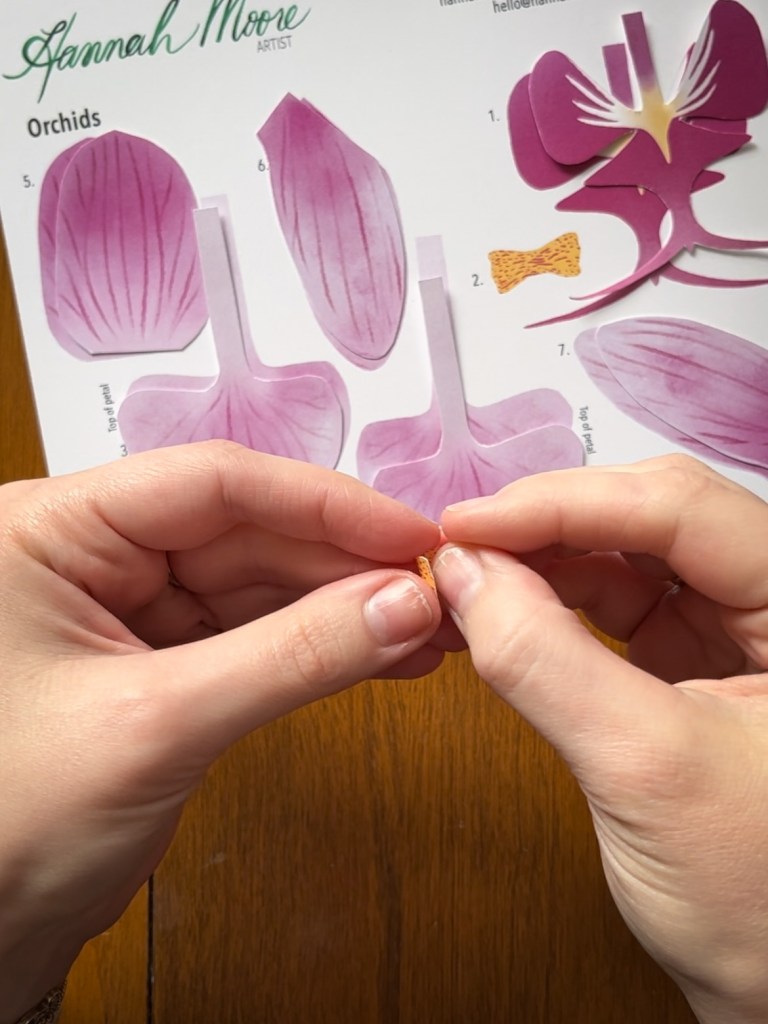
Step 2:
-Curl the outside thirds of the bow tie shape up and in, so the colored portion is facing outward. You can use a ruler to help you shape the curls.
Step 3:
-Gently crease the curls so they stay in place.
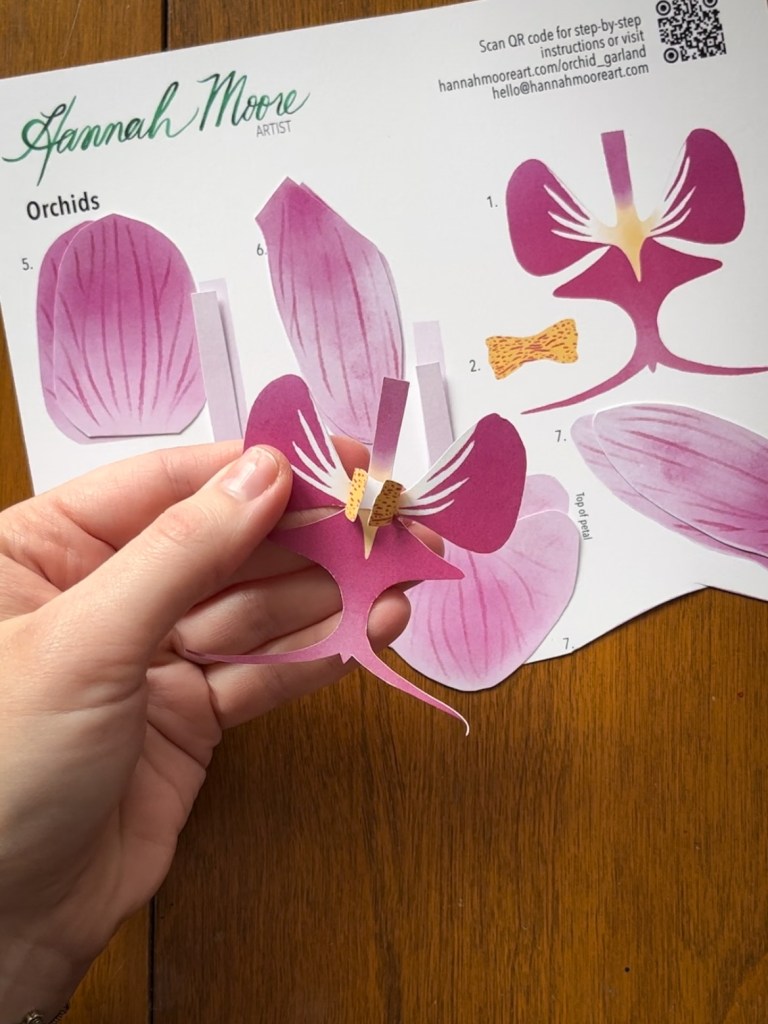
Step 4:
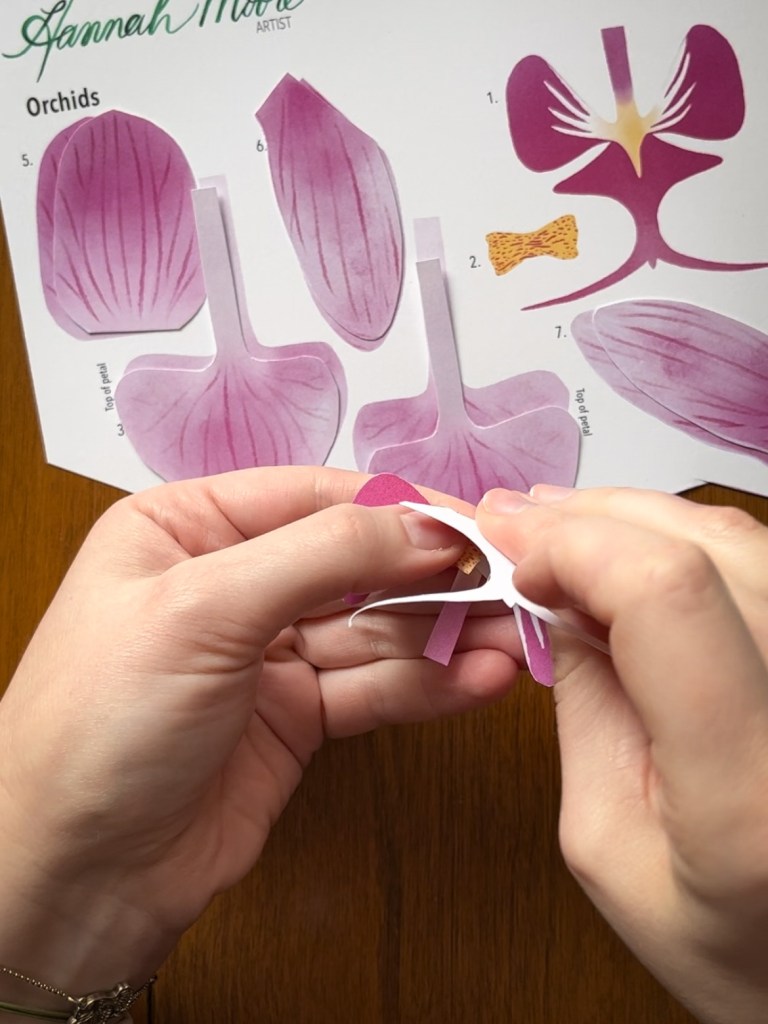
-Glue piece #2 to the center of piece #1, right at the base of the stem.
Step 5:
-Gently fold up the bottom of piece #1 under piece #2.
Step 6:
-Gently curl the bottom whiskers up.
Step 7:
-And then gently pull the curled whiskers outward to shape.
Step 8:
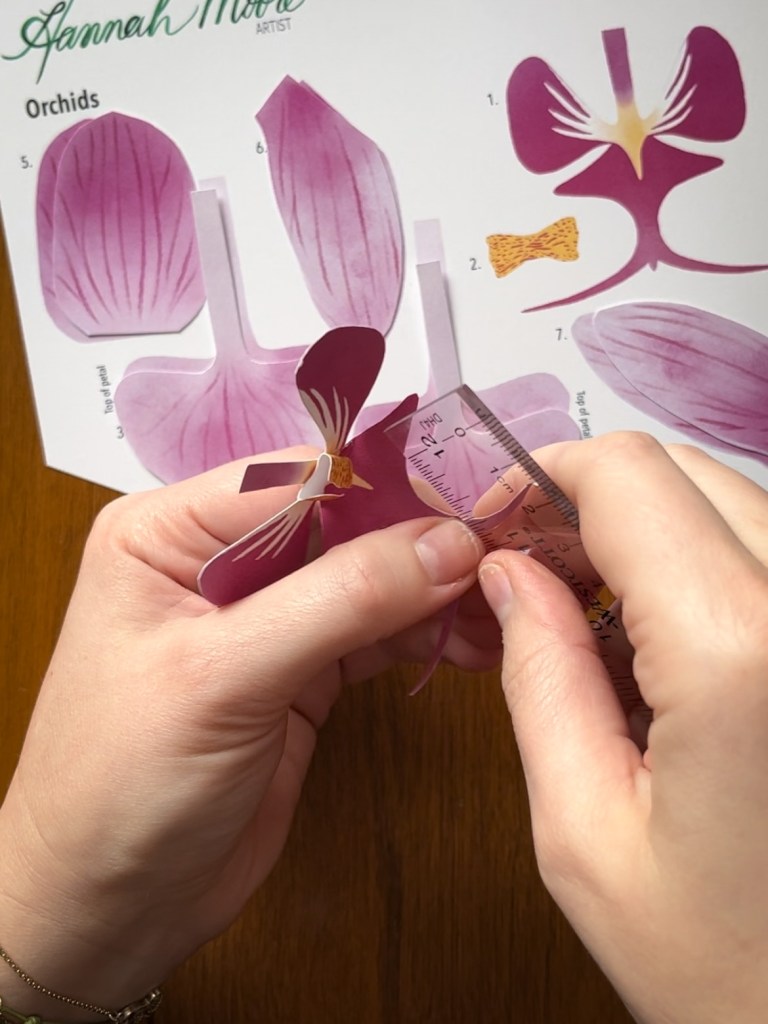
-Gently curl the edges of the top wings of shape #1 inward. Starting near the bow tie shape, gently crease the wings in toward the bow tie shape.
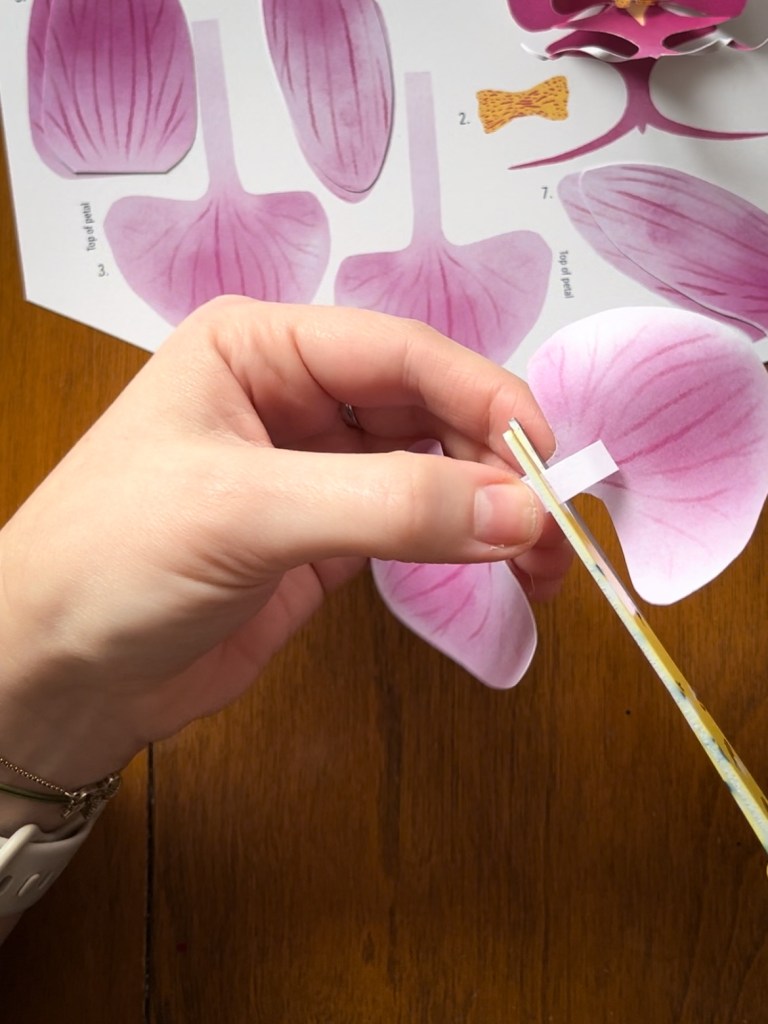
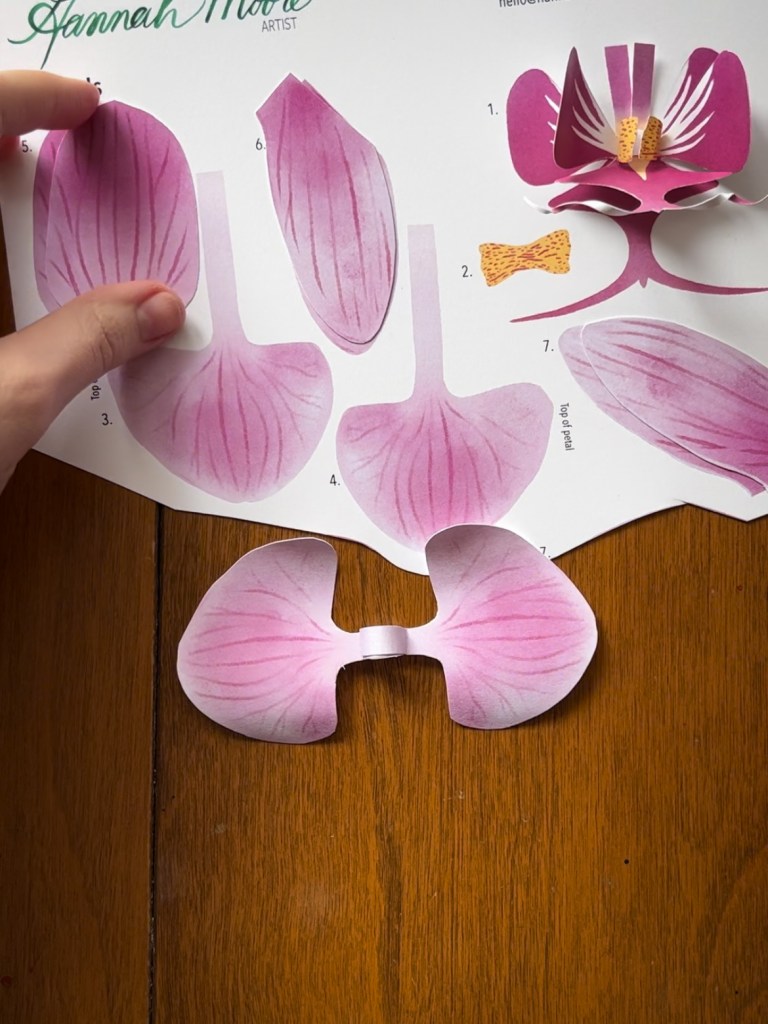
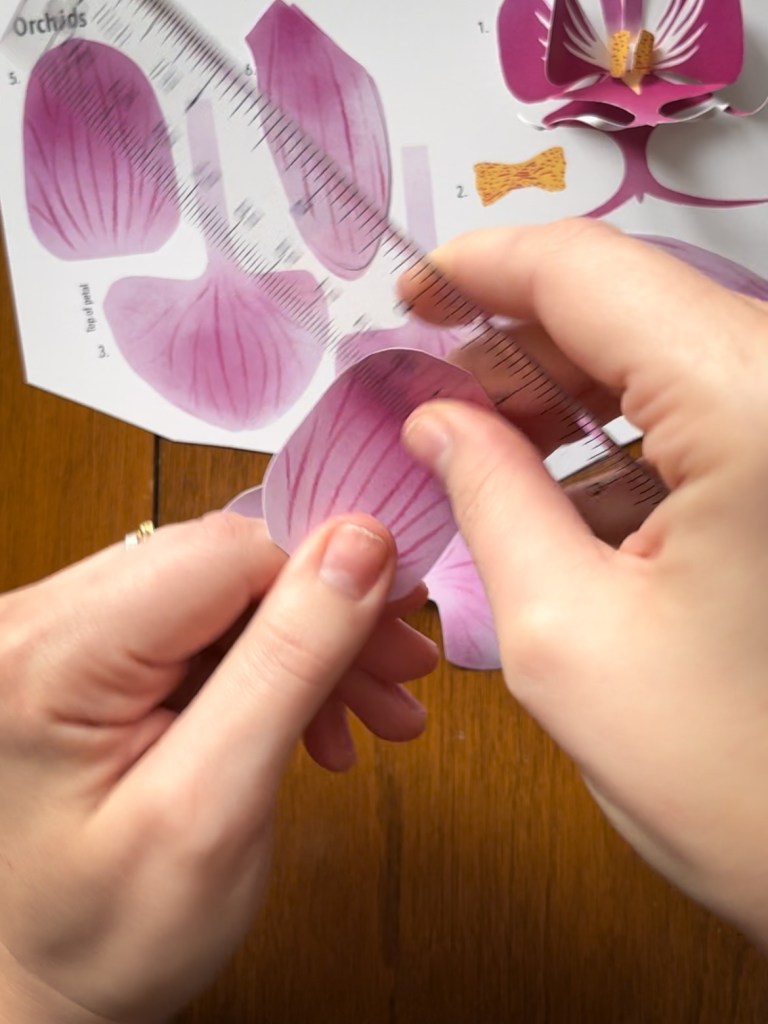
Step 9:
-Gently curl the top edges of pieces #3 and #4 inward, being careful to note which side is the top of the petal. The top of each petal leans in toward the center.
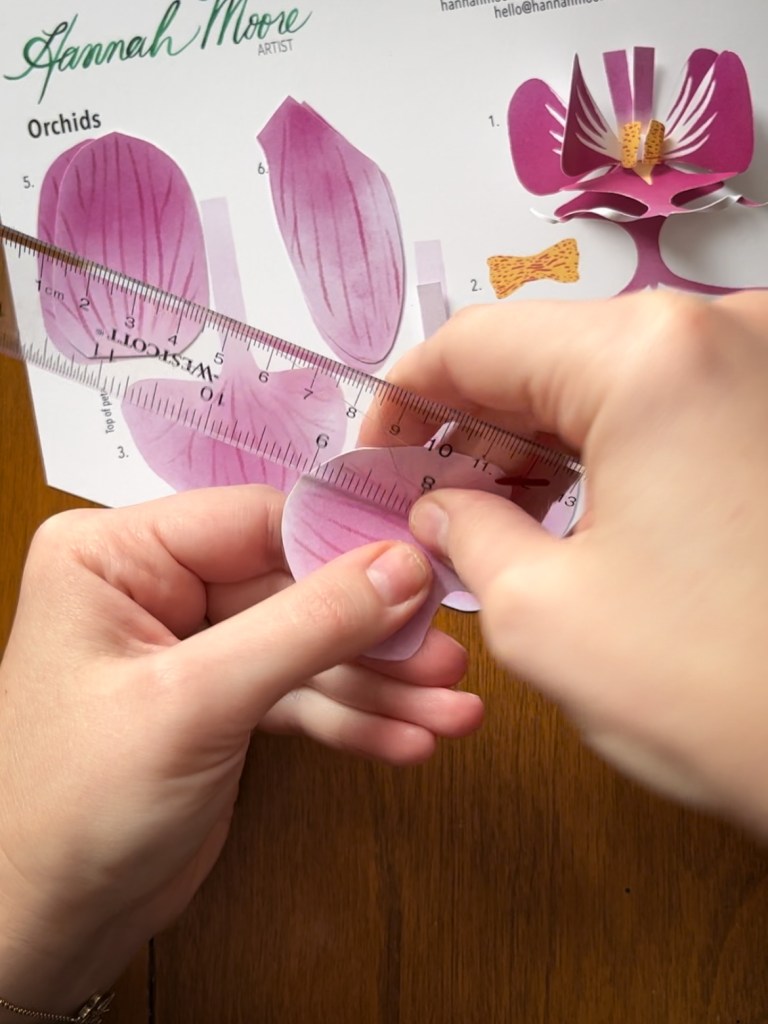
Step 10:
-Gently curl the bottom edge of pieces #3 and #4 outward.
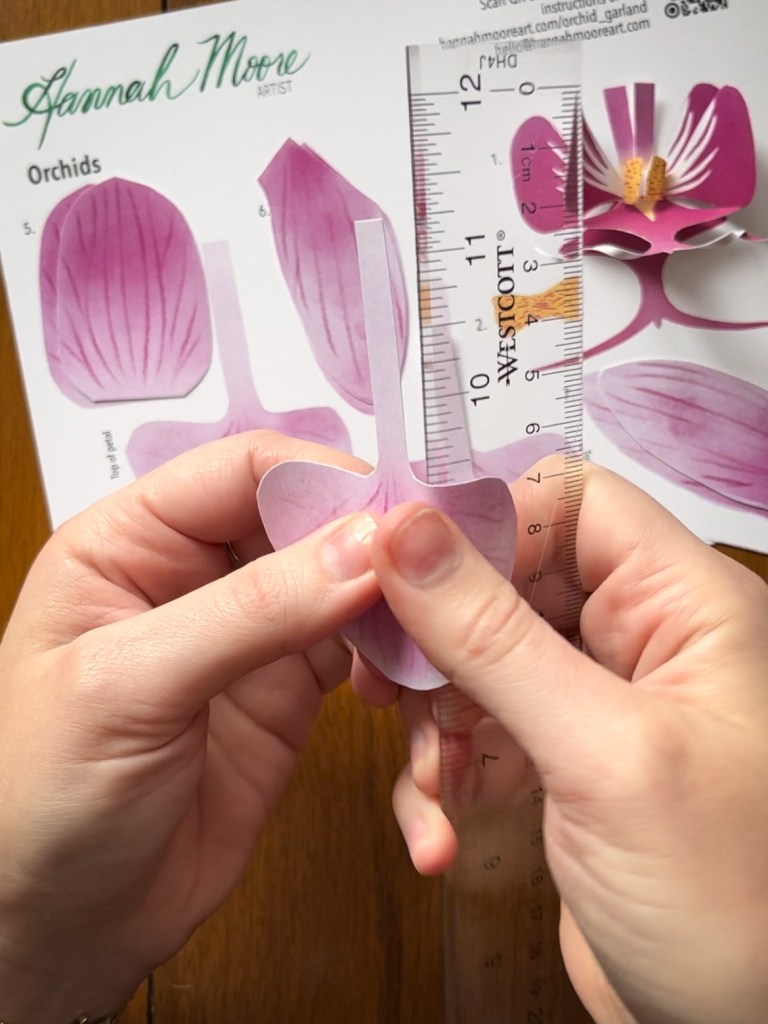
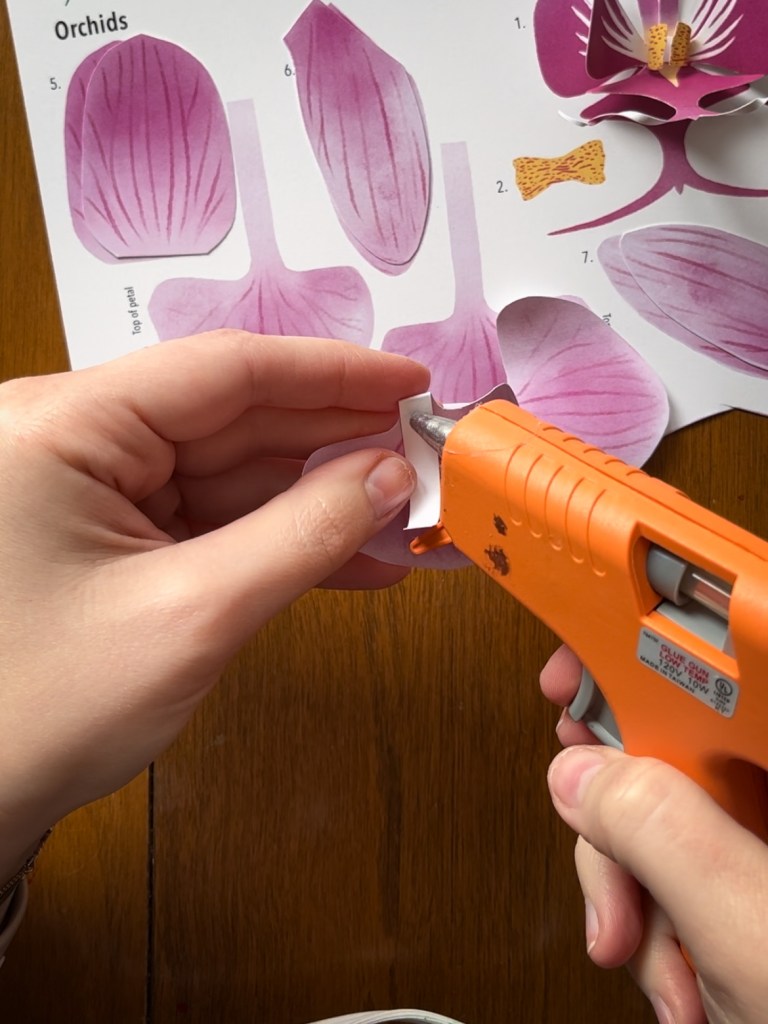
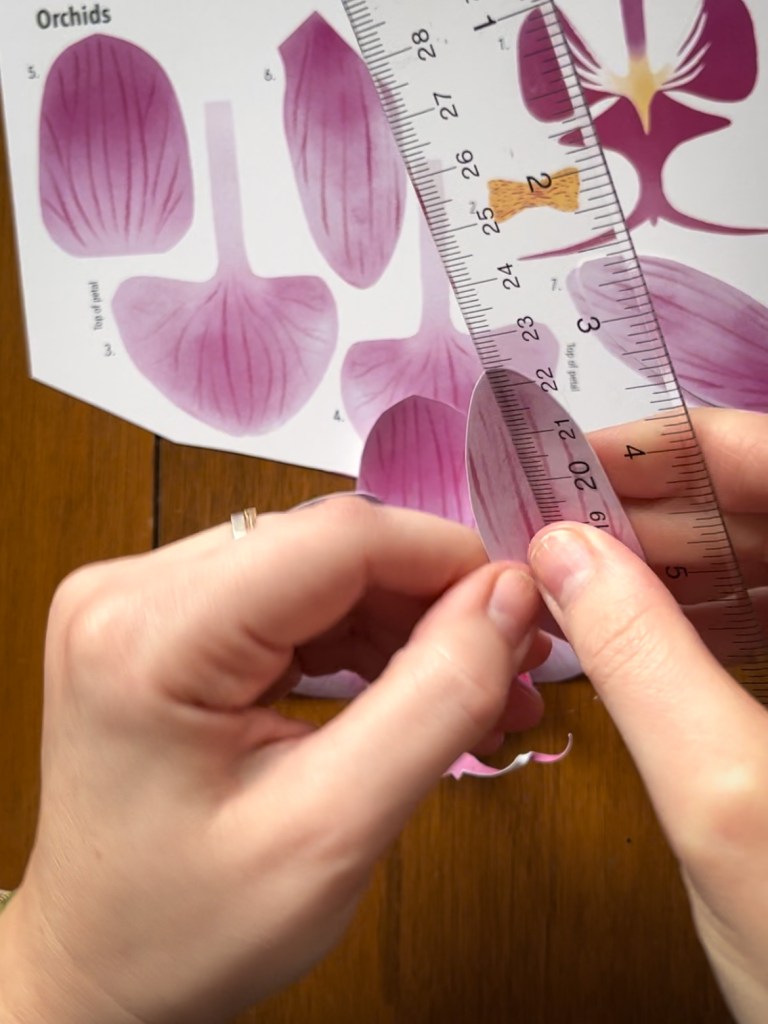
Step 11:
-Fold the long stem of piece #3 up, about 1/8-inch out from the petal.
Step 12:
-Create a loop with the stem. You can use the ruler to gently curl the paper to make it easier.
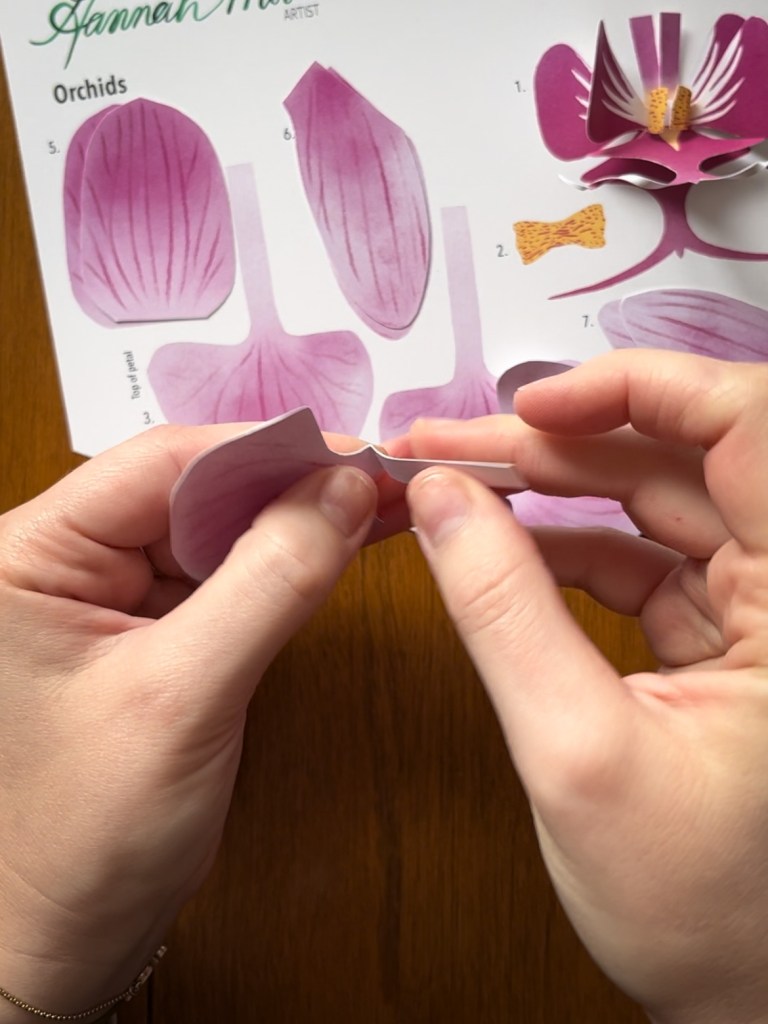
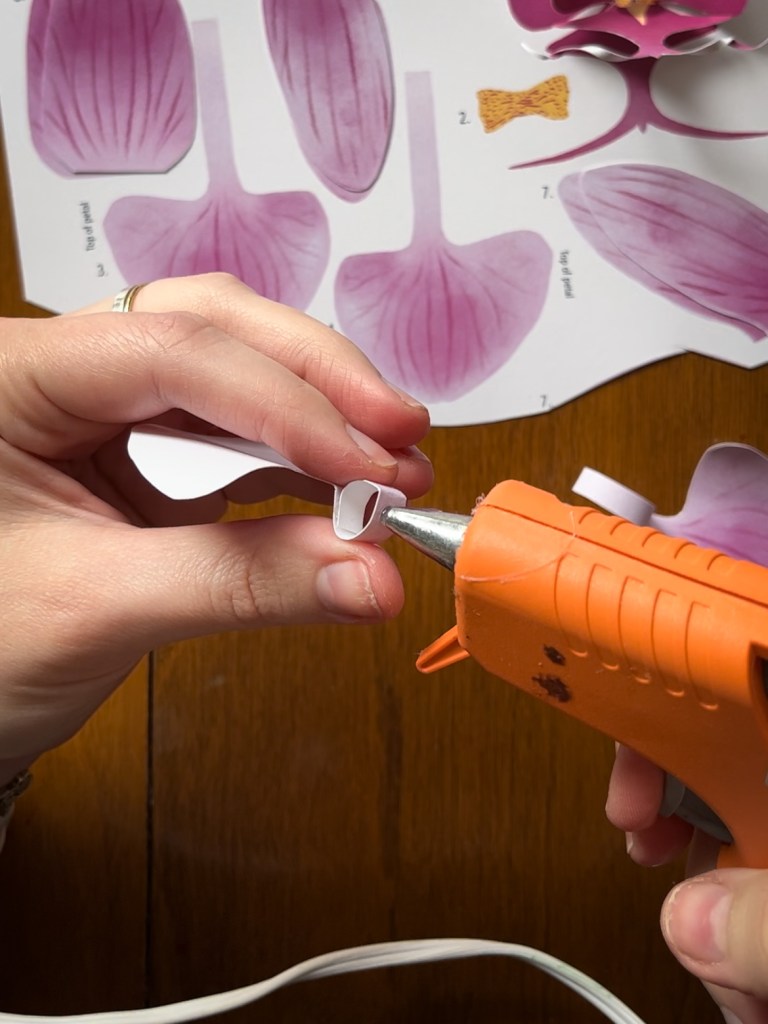
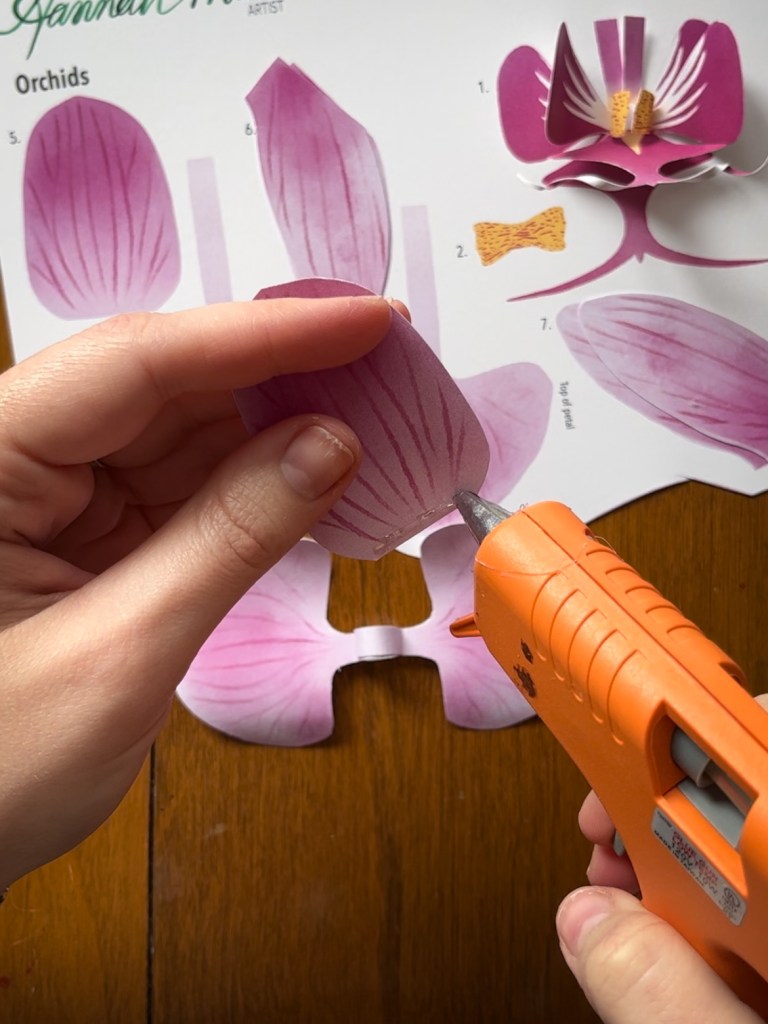
Step 13:
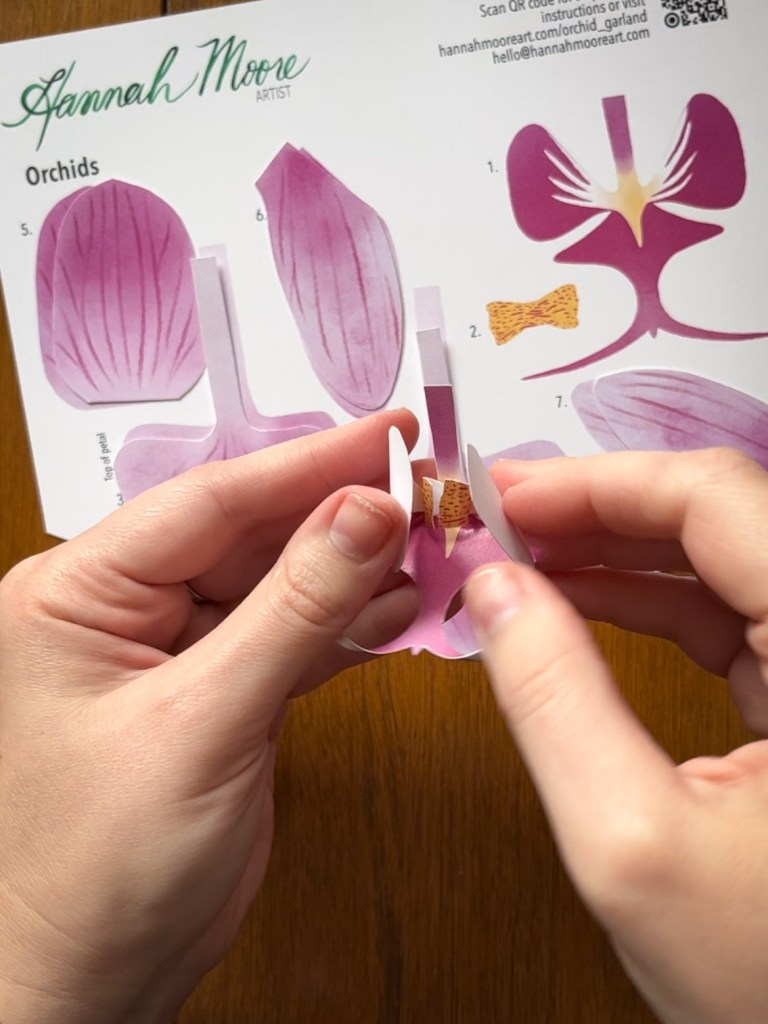
-Glue above the fold. Gently fold the outer edge of the loop to create a dome shape.

Step 14:
-Gently fold the outer edge of the loop to create a dome shape.
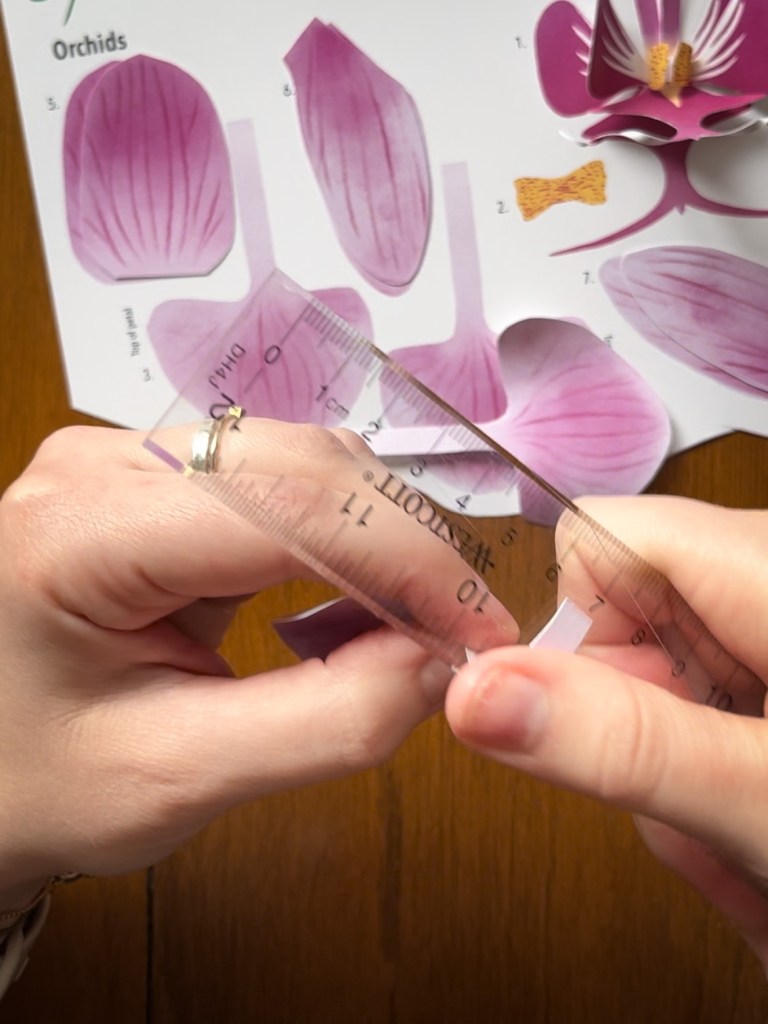
Step 15:
-Fold the long stem of piece #4 up, about 1/8-inch out from the petal. Glue the edge of this fold to the edge of the dome shape on piece #3.
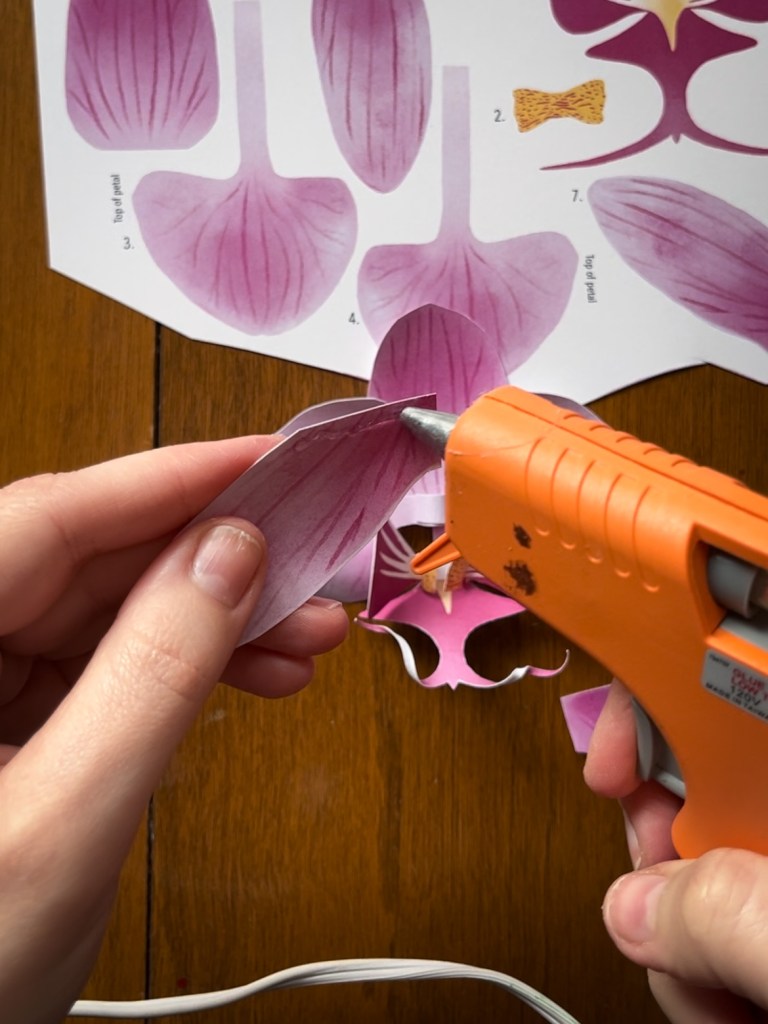
Step 16:
-Wrap the stem around the dome and trim the excess. Glue down the edge of piece #4’s trimmed stem to the dome.
Step 17:
-Glue down the edge of piece #4’s trimmed stem to the dome of piece #3.
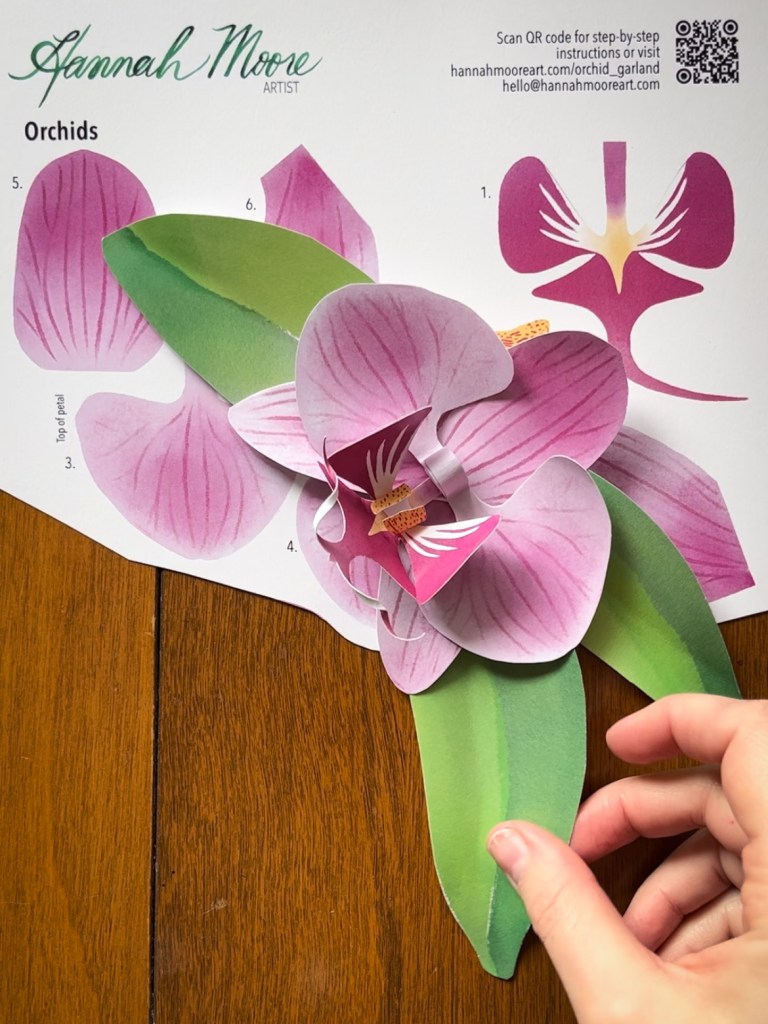
Intermission!
Here’s what your pieces so far should look like!
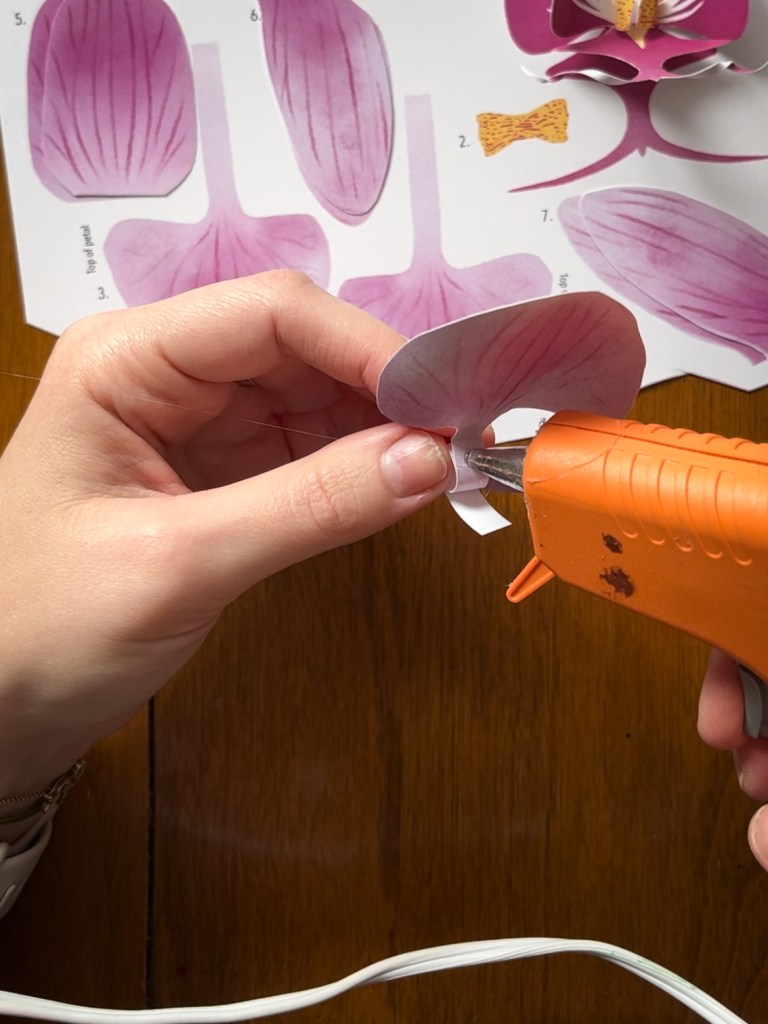
Step 18:
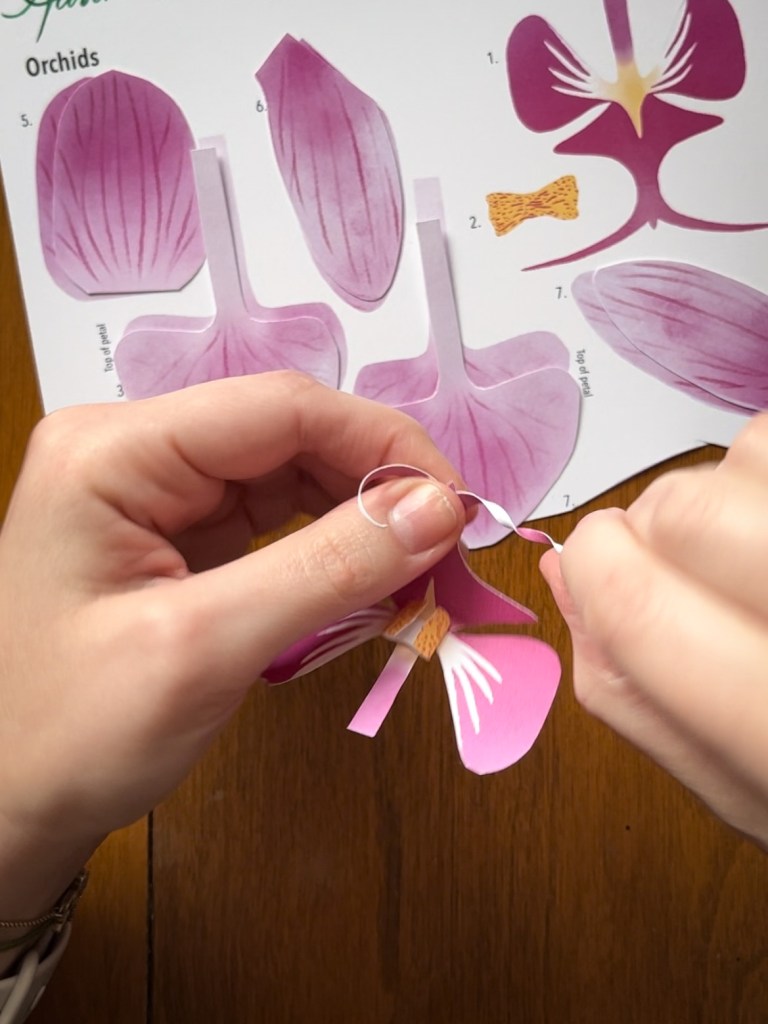
-Gently curl the top edge of shape 5 inward.
Step 19:
-Place a line of glue on the front, bottom of piece #5.
Step 20:
-Secure to the back of shapes #3 and #4, where the dome is.
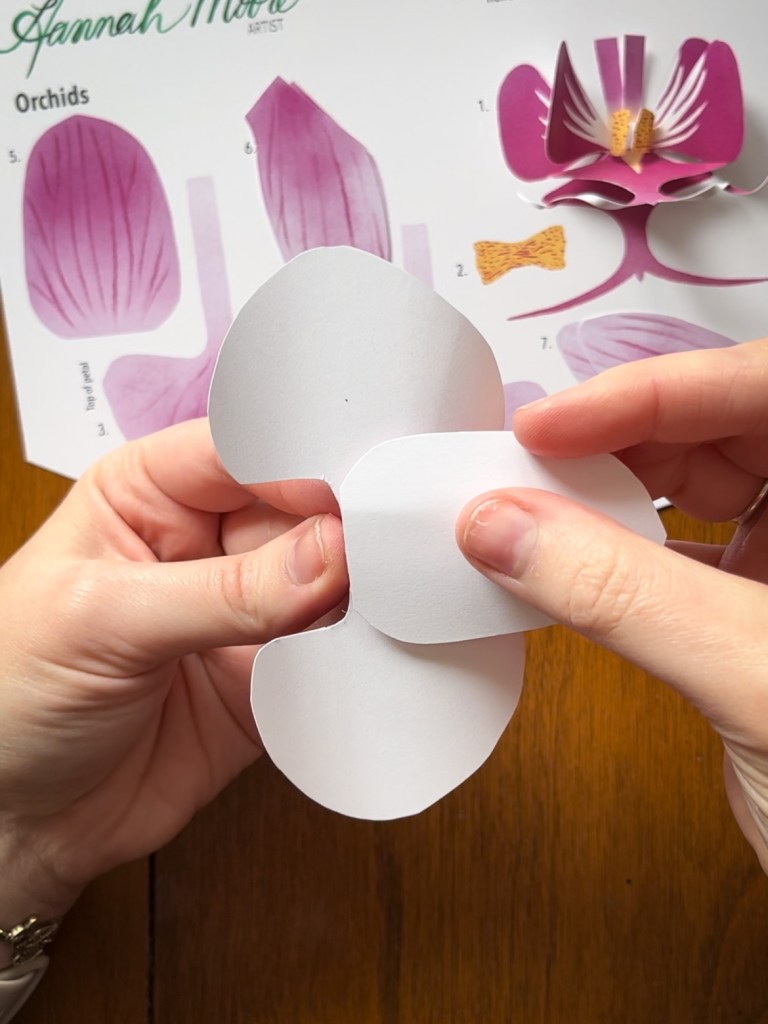
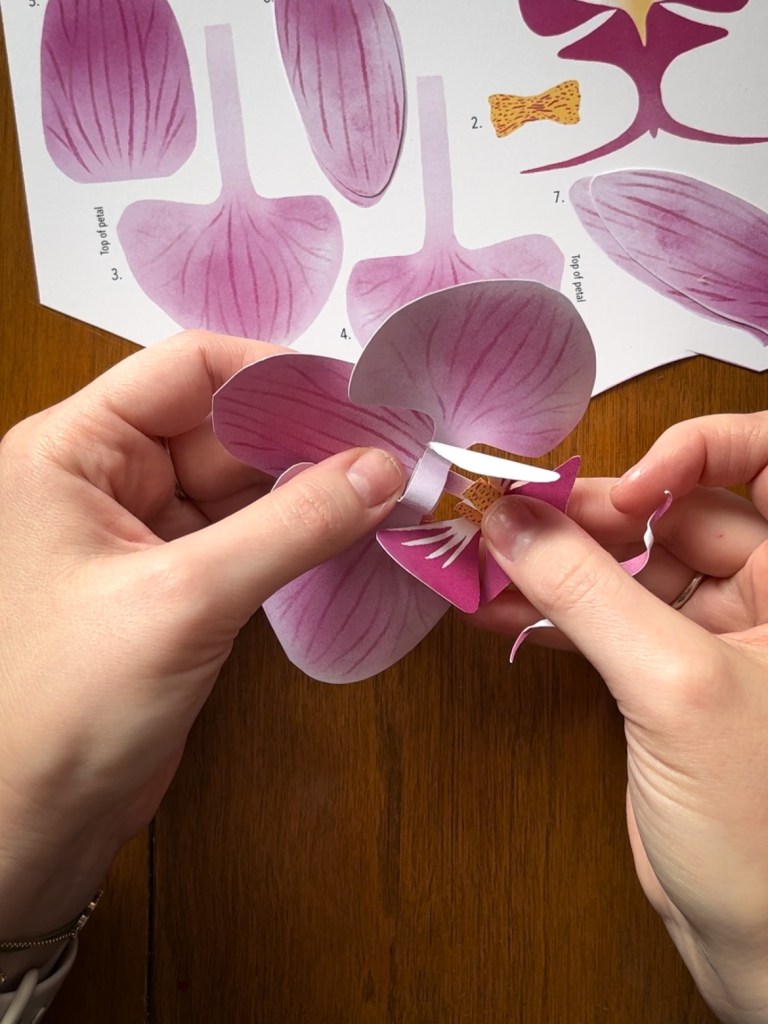
Step 21:
-Line up shape 1 so the bottom of the diamond shape lines up with the bottom of the petals of shapes #3 and #4. And glue in place.
Step 22:
-Gently curl in the edges of shapes #6 and #7 toward the center.
Step 23:
-Place a line of glue on the top edges of shape #6.
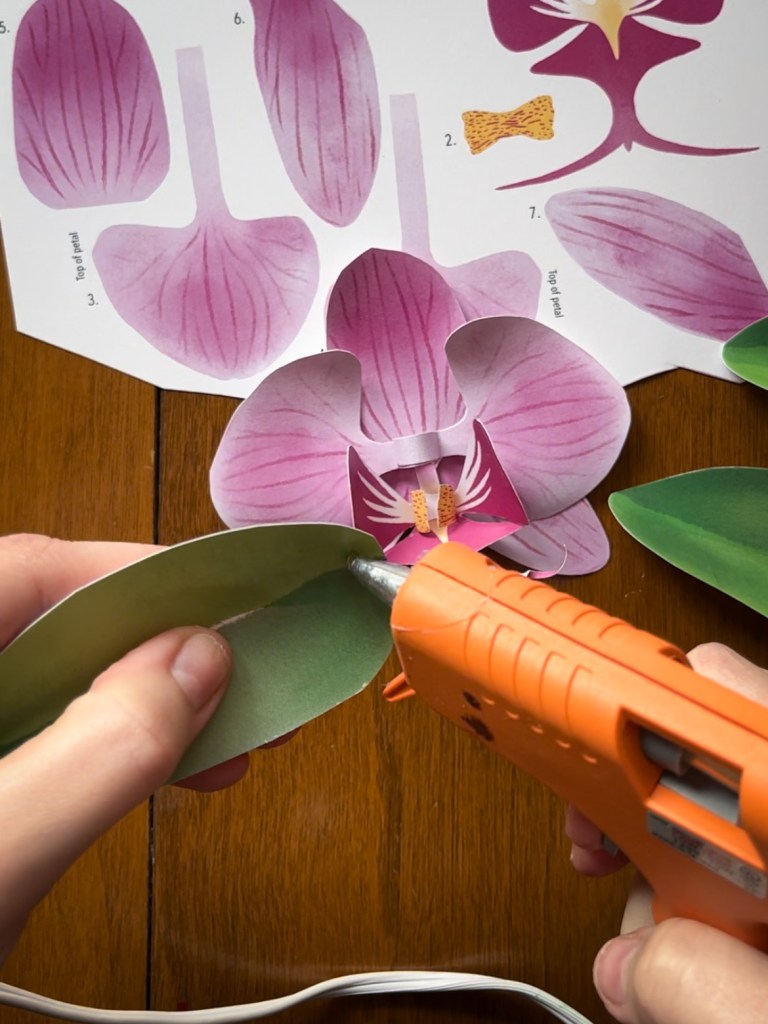
Step 24:
-Secure to back of the flower, coming down and out at an angle. Repeat for shape #7 on the opposite side.

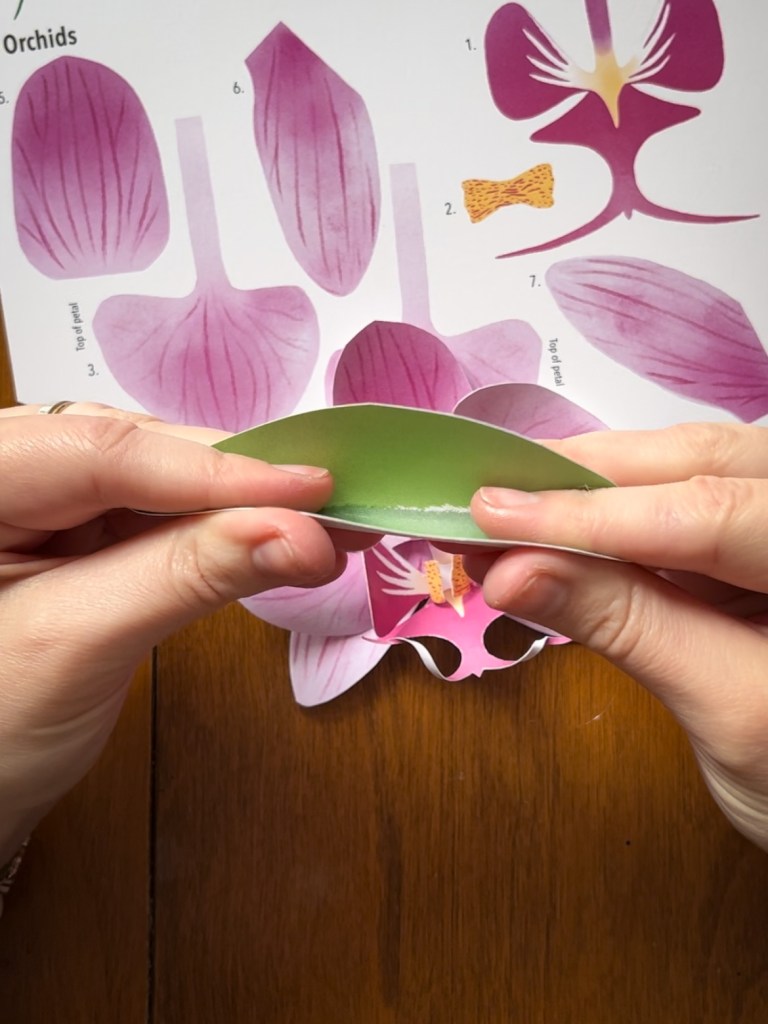
Step 25:
-Gently crease leaves down the approximate center of each leaf to create some dimension.
Step 26:
-Arrange and hot glue 3-4 leaves behind each orchid. There are enough leaves for each flower to have four leaves, with two left over.
Step 27:
-Repeat until all orchids are assembled.
Step 28:
-Lay out your orchid/leaves in desired pattern.
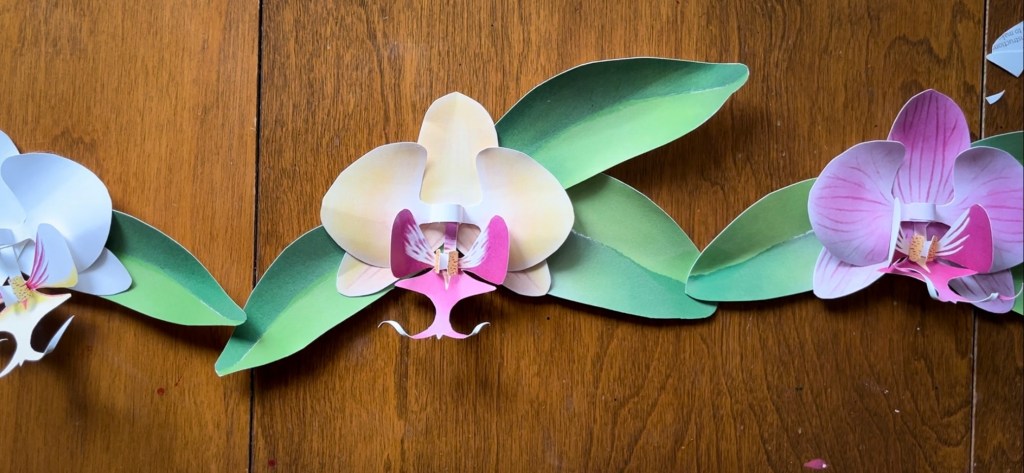
Step 29:
-Cut six-foot piece of twine. Add knots to the very end of the twine to prevent fraying.
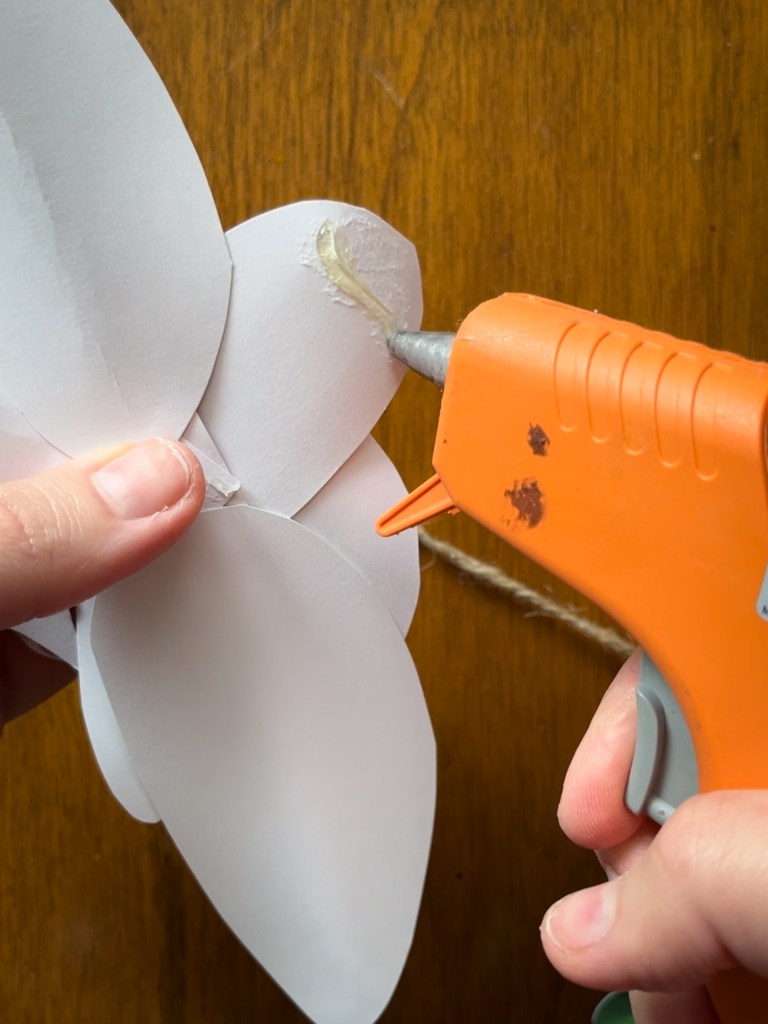
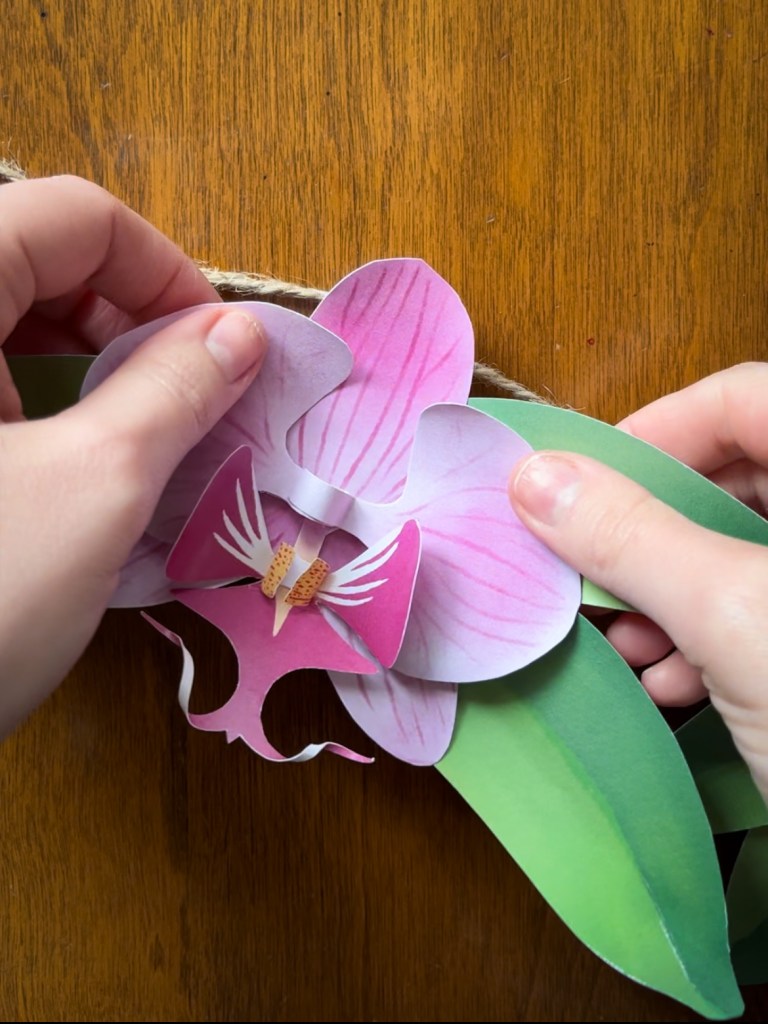
-Find the center of your twine by folding it in half. Crease the twine so you can mark the center. Lay twine above orchids. Spread out your orchids/leaves so they will sit evenly across the twine.
-Add a line of glue to the back of the top petal (shape 5) and secure to twine.
Step 30:
-Be sure to put the glue toward the top of the flower petal so the flower won’t fall forward once the garland is hung.
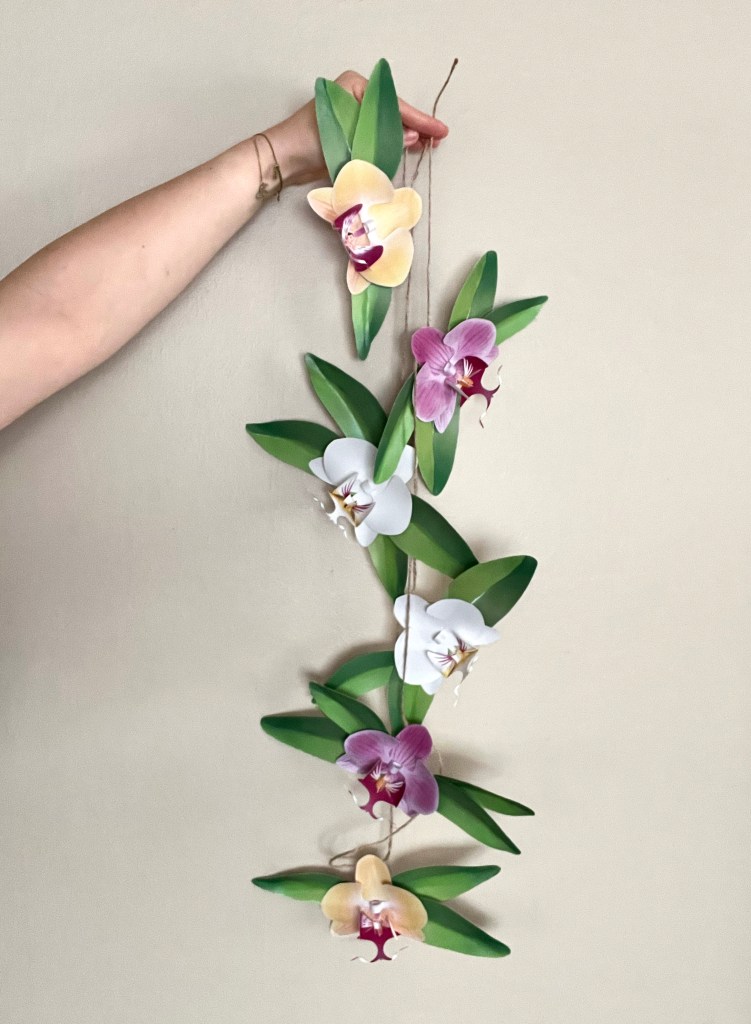
You did it!
-Repeat until all orchids are secured.
-Add any remaining leaves, if desired.
-Hang and enjoy!
-Post on Instagram and tag me, @hannahmooreart_, so I can celebrate your job well done!
